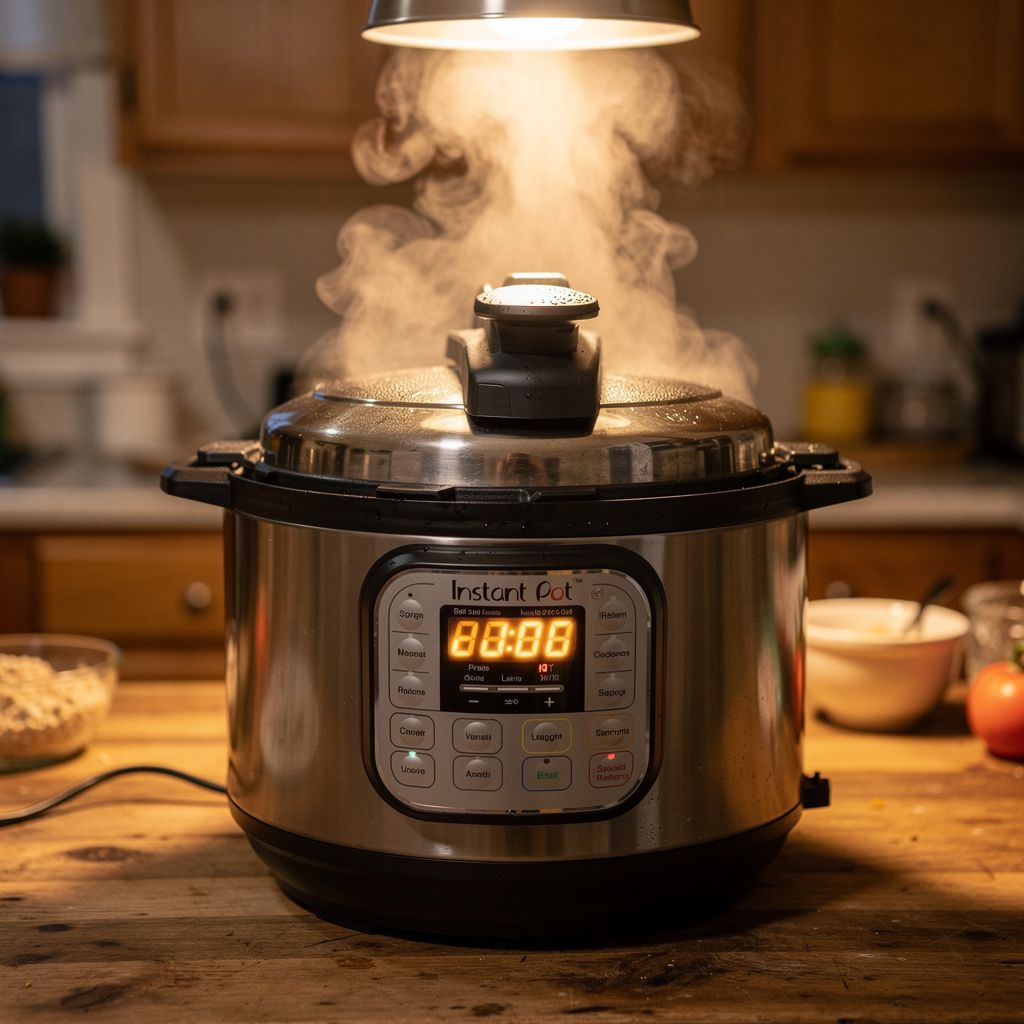
The Instant Pot is one of the most gifted-then-unused kitchen appliances ever made. Millions of people received one as a gift, used it twice, and moved it to a cabinet shelf where it’s been gathering dust ever since. That’s a shame — the Instant Pot genuinely reduces cooking time for specific dishes by 60–70%, and once you understand its logic, it becomes one of the most-used appliances in the kitchen.
This guide starts from zero. No assumed knowledge, no jargon.
First, About Safety
The most common reason people fear pressure cookers is the association with old stovetop models that could and occasionally did fail catastrophically. Modern electric pressure cookers like the Instant Pot are extremely safe. Here’s why:
- Lid lock: The lid physically cannot be opened while the pot is pressurized. A lid interlock mechanism prevents opening until pressure drops to a safe level.
- Automatic pressure regulation: The Instant Pot monitors internal pressure continuously and reduces heat to maintain safe pressure levels.
- Multiple safety fuses: The unit has fuses that cut power if temperature or pressure exceeds safe thresholds.
- Steam release valve: Allows controlled release of steam before and after cooking.
The Instant Pot has been on the market since 2010 and has sold tens of millions of units. Pressure cooking accidents with the Instant Pot are extraordinarily rare and are almost always the result of improper use (overfilling, incorrect lid locking).
The one rule that matters: Never open the lid while the pot is pressurized. The lid physically prevents this — but if you somehow defeat the safety mechanism, the result would be dangerous. Don’t try to force the lid open.
Understanding the Basic Functions
The Instant Pot has several modes. You’ll use 2–3 of them for 90% of your cooking.
Pressure Cook (Manual)
The core function. You set the time, choose high or low pressure, and the pot heats to build pressure, holds it for the set time, then releases. Most recipes use High Pressure.
Key thing to understand: The time you set is only the pressurized cooking time. The pot also needs time to come to pressure (typically 10–15 minutes for a full pot) and release pressure (either natural release of 15–30 minutes, or quick release via the steam valve). Total time is longer than the cook time shown.
Sauté
Turns the bottom of the pot into a skillet. Use it before pressure cooking to brown meat, soften aromatics (onion, garlic), or after cooking to reduce sauces. This is one of the most useful features — browning meat before pressure cooking dramatically improves flavor.
Slow Cook
Functions like a Crock-Pot — low heat over many hours. Useful if you want to prep in the morning for a dinner meal. Note: The Instant Pot’s slow cook function is reportedly inconsistent compared to a dedicated slow cooker, but it works adequately.
Keep Warm
Automatically activates after cooking completes. Keeps food at serving temperature. Good for timing flexibility.
Steam
Designed for steaming vegetables and seafood. Requires a steamer basket (usually sold separately). Use a trivet (included with most models) to keep food above the water line.
Rice (or Multi-Grain)
Specifically calibrated for rice. Add rice and water (1:1 ratio for white rice), press Rice, done. Produces consistently good rice — better than many standalone rice cookers.
Natural Release vs Quick Release
After pressure cooking, the pressure must release before you can open the lid. You have two options:
Natural Pressure Release (NPR): You let the pot cool down on its own. The float valve (the small red pin in the lid) drops when pressure normalizes — this takes 15–30 minutes. Natural release continues cooking the food gently during this time. Best for: large meat cuts, beans, soups, anything that benefits from gentle carry-over cooking.
Quick Release (QR): You manually turn the steam release valve to “Venting,” which releases steam rapidly (1–3 minutes). Best for: vegetables, seafood, anything you don’t want overcooked. Be careful: a plume of hot steam releases from the valve. Keep hands and face clear. Don’t do quick release under low cabinets.
Most recipes specify which to use. When in doubt, natural release is safer — it’s hard to overcook by releasing too gently.
Your First Recipes: Start Here
1. Hard-Boiled Eggs (5-5-5 Method)
Add 1 cup water, place eggs on trivet. Pressure cook 5 minutes, natural release 5 minutes, ice bath 5 minutes. Perfect eggs that peel easily every time.
2. White Rice
Rinse 1 cup rice, add 1 cup water. Rice function (or Manual 3 minutes + 10 minute natural release). Consistent results with zero monitoring.
3. Chicken Breast (Frozen or Fresh)
Fresh: 8–10 minutes on high pressure, quick release. Frozen: 12–15 minutes on high pressure, quick release. Season and shred for tacos, salads, grain bowls. The Instant Pot makes shredded chicken trivially easy.
4. Beef Stew
Sauté beef chunks until browned, add vegetables, stock, and seasoning. 35 minutes high pressure, natural release. Rich, fall-apart stew in under an hour total.
5. Dried Beans
Soak overnight optional (cuts cook time). Unsoaked chickpeas: 40 minutes high pressure, natural release. Soaked beans: 10–15 minutes. No more forgetting to soak beans — the Instant Pot makes dried beans viable even on weeknights.
Common Mistakes (and How to Avoid Them)
The “Burn” error: The pot displays “Burn” and stops cooking. This means there’s not enough liquid at the bottom, or thick/starchy liquid is burning. Solution: add more water, deglaze the bottom after sautéing (use liquid to scrape up any brown bits), and layer thick sauces on top rather than at the bottom.
Overfilling the pot: Never fill past the 2/3 max fill line. For foods that expand (beans, grains), never past the 1/2 line. Overfilling blocks the pressure valve and prevents safe operation.
Expecting quick cooking for everything: The Instant Pot dramatically speeds up dishes that normally take hours — tough meat cuts, dried beans, stock, cheesecake, hard-boiled eggs. It does NOT significantly speed up dishes that are already fast to cook. Broccoli doesn’t benefit from the Instant Pot. A chicken breast that takes 20 minutes in the oven takes about 20 minutes total in the Instant Pot when accounting for pressurization time.
Not using the sauté function first: Many Instant Pot recipes tell you to just dump ingredients and pressure cook. Those recipes are convenient but produce flat-tasting results. Browning aromatics and meat first via sauté adds flavor that pressure cooking alone can’t produce.
Using too little liquid: You need at least 1 cup of liquid for the pot to pressurize. Less than that and the pot may not reach pressure or will trigger a burn error.
Model Comparison: Duo vs Ultra vs Pro
Instant Pot sells several models. Here’s the honest breakdown:
Instant Pot Duo (7-in-1)
The baseline model. Pressure cook, slow cook, rice cook, steam, sauté, yogurt, keep warm. The 6-quart Duo feeds a family of 4 comfortably.
Best for: Most buyers. It does everything you need at the lowest price (~$70–$100 on sale).
Instant Pot Duo Plus (9-in-1)
Adds sterilize and warm functions over the Duo. Also has a progress indicator for pressurization/cooking/depressurization phases, which is helpful for beginners.
Best for: First-time buyers who want clearer visual feedback on where the pot is in the cooking process. Worth the $15–$20 premium over the Duo.
Instant Pot Ultra (10-in-1)
Adds a dial interface instead of buttons, altitude adjustment, a custom programming mode, and a sterilize function. The dial control is easier to use than multiple button presses.
Best for: Anyone who appreciates the dial interface. A marginal upgrade over the Duo Plus for most users, but the interface genuinely is better.
Instant Pot Pro
Premium materials, stainless steel exterior, improved steam release valve design. The “whisper quiet” claim isn’t fully accurate, but noise is reduced. Improved sealing ring design reduces odor absorption.
Best for: Frequent users who want better build quality and materials. Worth the price if you use the Instant Pot multiple times per week.
Accessories Worth Buying
Glass lid: For slow cooking and keeping warm functions (the pressure lid isn’t necessary for these). About $15. Worth it.
Extra sealing ring: The silicone sealing ring absorbs food odors over time. Having a separate ring for savory versus sweet dishes prevents cheesecake that smells like beef stew. About $10. Definitely worth it.
Steamer basket: Stainless steel basket sits above the water line for steaming vegetables and seafood. The included trivet works but a proper basket is more versatile. About $15–$20.
7-inch springform pan: Fits inside the 6-quart Instant Pot for pressure cooker cheesecake. Instant Pot cheesecake is legitimately excellent and faster than oven-baked. About $10.
The Bottom Line
The Instant Pot delivers on its promises for specific use cases: tough meat cuts, dried beans, stock, and recipes that normally require hours of simmering. For those dishes, it cuts active time dramatically and produces consistent results.
It won’t transform your entire cooking routine — some things are still faster on the stovetop. The key is learning which dishes genuinely benefit (braised meats, beans, risotto, hard-boiled eggs, steel-cut oats) and using it specifically for those.
Start with the 6-quart Duo or Duo Plus — most households find 6 quarts right-sized, and you don’t need the additional functions of higher models when starting out. Buy a second sealing ring on day one and try hard-boiled eggs first: it’s the easiest recipe, takes 15 minutes, and immediately shows you why people love this machine.