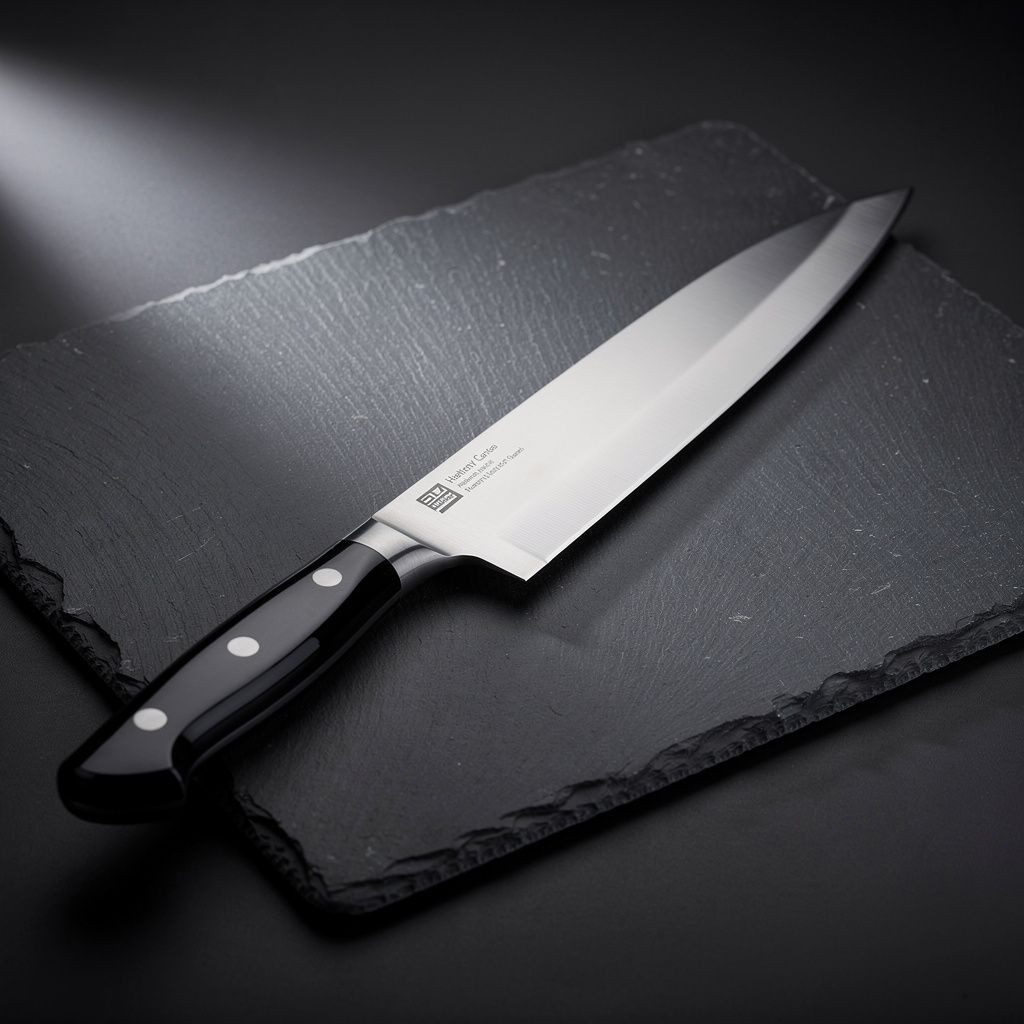
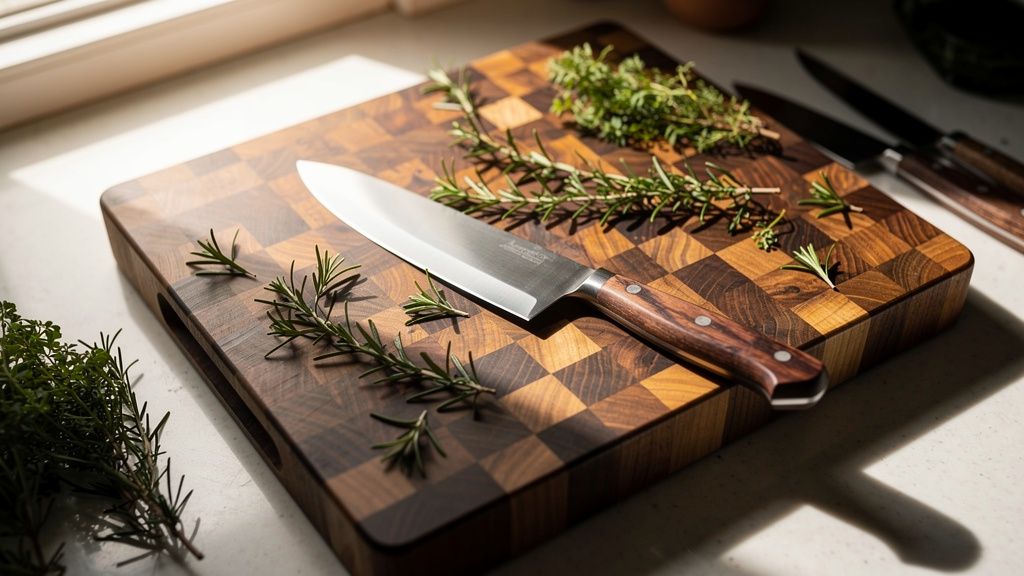
Most home cooks use dull knives without realizing it. A knife that feels “sharp enough” may be dull enough to require twice the cutting pressure — which is both tiring and dangerous. Dull knives slip. Sharp knives bite into food with minimal force and stay where they’re directed.
The good news: keeping knives sharp is simple. It requires understanding two distinct practices (honing and sharpening), 5 minutes of weekly attention, and occasional deeper work a few times a year.
Honing vs Sharpening: The Critical Distinction
These two words are used interchangeably, but they describe completely different actions.
Honing realigns the blade edge. It does not remove metal. The cutting edge of a knife is a microscopic V-shape — with use, that V bends and rolls to the side. It’s still there, just misaligned. A honing steel pushes the edge back to center. Takes 30 seconds. Should be done frequently — before every cooking session, or at minimum every few uses.
Sharpening removes metal to create a new cutting edge. It’s done when the blade edge is damaged, chipped, or too deformed to respond to honing. A proper sharpening job with a whetstone or quality sharpener takes 15–30 minutes and should happen only every few months for a regularly honed knife.
The common mistake: Using an electric sharpener when what the knife needs is honing. Electric sharpeners remove metal — using one every week rapidly grinds away the blade, shortening the knife’s useful life significantly.
The test: Hold your knife flat under a bright light at a shallow angle. If you see glinting, reflective spots along the edge, it needs honing (the edge is rolled). If the edge looks rough or notched under magnification, it needs sharpening.
Honing Technique
Choosing a Honing Rod
Smooth steel honing rod: Standard tool included with most knife sets. Works for most home cooks and German-style knives. Use medium pressure.
Ridged (grooved) honing rod: Slightly more aggressive — removes a tiny amount of metal while realigning. Better for badly misaligned edges. Avoid for Japanese knives harder than 60 HRC — the ridges can chip hard steel.
Ceramic honing rod: Softer than steel, better for hard Japanese knives. Recommended for any knife over 60 HRC.
Diamond-coated rod: Most aggressive — removes metal like fine sandpaper. For sharpening more than honing. Not for regular maintenance use.
The Technique
Two methods work equally well — choose the one that feels natural.
Stationary rod method:
- Place the rod tip-down on a folded towel on the counter (prevents slipping)
- Hold the rod vertically with your non-dominant hand
- Place the heel of the knife at the top of the rod, blade facing down
- Maintain a 15–20° angle between blade and rod (15° for Japanese knives, 20° for German)
- Draw the blade down and across the rod in a smooth arc, from heel to tip
- Alternate sides: 5–6 strokes per side, then check
Freehand method (moving rod):
- Hold the rod horizontal in your non-dominant hand, tip pointing away from you
- Draw the knife across the rod with the same 15–20° angle and heel-to-tip arc
- Alternate sides
Pressure: Light to medium. You’re realigning, not grinding. Pressing hard wears the rod faster and doesn’t improve results.
Frequency: Before every cooking session for a well-maintained knife. If you cook daily, 4–5 strokes each side takes 30 seconds.
Whetstone Basics
A whetstone is the gold standard for sharpening — it gives you full control over angle, grit progression, and the result. The learning curve is real (expect several practice sessions) but the skill is permanent and the results are better than most electric sharpeners.
Understanding Grit Numbers
Lower numbers = coarser grit = removes more metal faster Higher numbers = finer grit = polishes the edge
| Grit Range | When to Use |
|---|---|
| 120–400 | Repairing chips, reestablishing a damaged edge |
| 800–1200 | General sharpening, intermediate work |
| 2000–3000 | Good starting point for regular maintenance |
| 4000–6000 | Refining and polishing after rough sharpening |
| 8000+ | Final polish for a razor-sharp edge |
Beginner recommendation: A combination stone (1000/6000 grit) covers general sharpening and finishing in one tool. The King KW-65 (1000/6000) is the standard entry-level recommendation, widely used in culinary schools.
Whetstone Technique Basics
Setup:
- Soak water stones for 5–10 minutes before use (splash stones only need a few drops of water applied continuously)
- Place the stone on a non-slip surface or a stone holder
- Wet the stone surface and keep it wet throughout
Sharpening angle:
- German knives: 20° per side
- Japanese knives: 15° per side (some makers specify 12–13°)
- Matching the knife’s original geometry matters — check the maker’s specs if unsure
A simple angle guide: A 20° angle is roughly 3–4 mm of spine lift from the stone for an 8-inch blade. A 15° angle is roughly 2–3 mm.
The motion:
- Place the blade on the stone at the correct angle, edge facing away from you
- Push the knife forward (away from you) while simultaneously drawing it across the stone so the entire edge travels across in one stroke (tip to heel)
- Repeat 10 strokes on one side, then 10 on the other
- Check for a “burr” — a tiny flap of metal along the edge you can feel by running your thumb perpendicularly across the edge. When you feel a consistent burr along the entire edge, you’ve sharpened that side enough.
- Move to the finishing stone (6000 grit) and use lighter pressure with fewer strokes
- Finish by honing on a leather strop or a few light strokes on the steel
When Whetstones Are Worth the Effort
If you use a good knife daily, learning to use a whetstone is worth the investment of 2–3 practice sessions. It produces better results than electric sharpeners, gives you control over angle, and a $30–$50 stone lasts years. Many professional cooks sharpen their own knives weekly.
Electric Sharpeners: Pros and Cons
Electric sharpeners use motorized abrasive wheels or diamond-coated slots to grind a new edge. They’re fast (2–3 minutes), require no skill, and produce decent results.
Pros:
- Fast and easy — minimal skill required
- Consistent angle (preset by the machine)
- Adequate results for most home use
Cons:
- Remove more metal than necessary — every pass shortens the blade’s life
- Preset angles may not match your knife’s geometry (especially problematic for Japanese knives)
- Can damage harder Japanese steels by chipping rather than grinding
- Higher-quality electric sharpeners ($150+) produce good results; budget models ($30–$50) produce mediocre edges and heavy wear
Best electric sharpener: Breville the Knife Sharpener ($160) or Chef’sChoice Trizor XV ($160). The Trizor XV converts Western-angle blades to a sharper 15° angle and produces an excellent edge. For the price, it competes with whetstone results for people who won’t learn to use a stone.
Avoid: Pull-through V-style sharpeners ($10–$30). They carbide-scratch rather than properly sharpen, remove excessive metal, and damage blade geometry over time.
Storage: Protect the Edge
How you store knives is as important as how you sharpen them. Poor storage dulls edges between uses and creates safety hazards.
Magnetic Wall Strip
The best storage option. Knives hang on a magnetic strip on the wall, accessible, visible, with no contact between blade edges. Air circulation prevents rust. Blades stay sharper because they’re not touching anything. A quality magnetic strip ($20–$50) holds 5–10 knives on a wall or the side of a cabinet.
Knife Block
The traditional countertop option. Works well if you use vertical slots (blade edge faces up, not pressing against the slot walls). Horizontal-slot knife blocks (where you slide the knife in edge-first) dull knives over time. Keep blocks clean — slots trap crumbs and bacteria.
Edge Guards (Blade Sheaths)
Individual plastic or wood sheaths for each blade. Good for drawer storage and traveling. The knife edge must be dry before storing in a sheath — trapped moisture causes rust.
What to Avoid
Loose knife drawer: Blades contact other metal, chip edges, and present a hand hazard when reaching in. If you use drawer storage, edge guards are mandatory.
Knife block with the edge down: Some blocks orient knives with the edge sliding against the slot on the way in. Every insertion dulls the edge. Orient so the spine (not the edge) contacts the slot.
When to Seek Professional Sharpening
Some situations are beyond home maintenance:
- Chipped or damaged blade: If there’s a visible nick or chip in the edge, repair requires removing metal at the chip depth across the entire blade — a significant job best handled professionally or with a coarse whetstone you know how to use.
- Extremely dull knife from neglect: A knife that hasn’t been maintained in years may need several passes at coarse grit before fine work is possible.
- Valuable Japanese single-bevel knives: High-end Japanese knives with asymmetrical grinds require specific knowledge to sharpen correctly. A professional who specializes in Japanese knives is worth seeking out.
Professional sharpening costs $5–$15 per knife. A good knife shop will inspect the blade, sharpen to the correct angle, and return it in better condition than any home electric sharpener. Once a year for heavily used knives, or when you notice significant degradation in performance.
The Simple Maintenance Routine
Before every cook: 5–6 strokes on a honing rod per side (30 seconds)
Every 2–3 months: Full sharpening on a whetstone or quality electric sharpener
Immediately after washing: Dry and put away — never leave wet in the drying rack
Storage: Magnetic strip, knife block, or edge guards — never loose in a drawer
That’s it. A kitchen knife maintained this way performs consistently for decades.